Stickers and cutting
Contour-cut stickers: how they are made
A contour-cut sticker is cut along the shape of the artwork, not into a rectangle or circle. The plotter cuts along the cut line prepared in the file, usually a few millimetres from the edge of the artwork, often with a white border.
- Kiss cut
- Vinyl cut, sticker stays on the liner
- Die cut
- Cut through, together with the liner
- Line offset
- Usually 1–3 mm from the artwork
- Minimum
- No narrow bridges below about 1 mm
Sheet or roll
A sheet (e.g. A4 or A3) has several stickers side by side, kiss cut, peeled from one liner. A roll has stickers one after another, convenient for large runs and applicators. A roll file has the width of the material, and the length follows from the number of stickers.
Common mistakes
- The cut line runs through thin elements, e.g. thin letters, and the plotter tears them.
- No bleed under the line: a cut shifted by a fraction of a millimetre reveals a white edge.
- A line with many tiny jags instead of a smooth curve: cutting takes longer and looks worse.
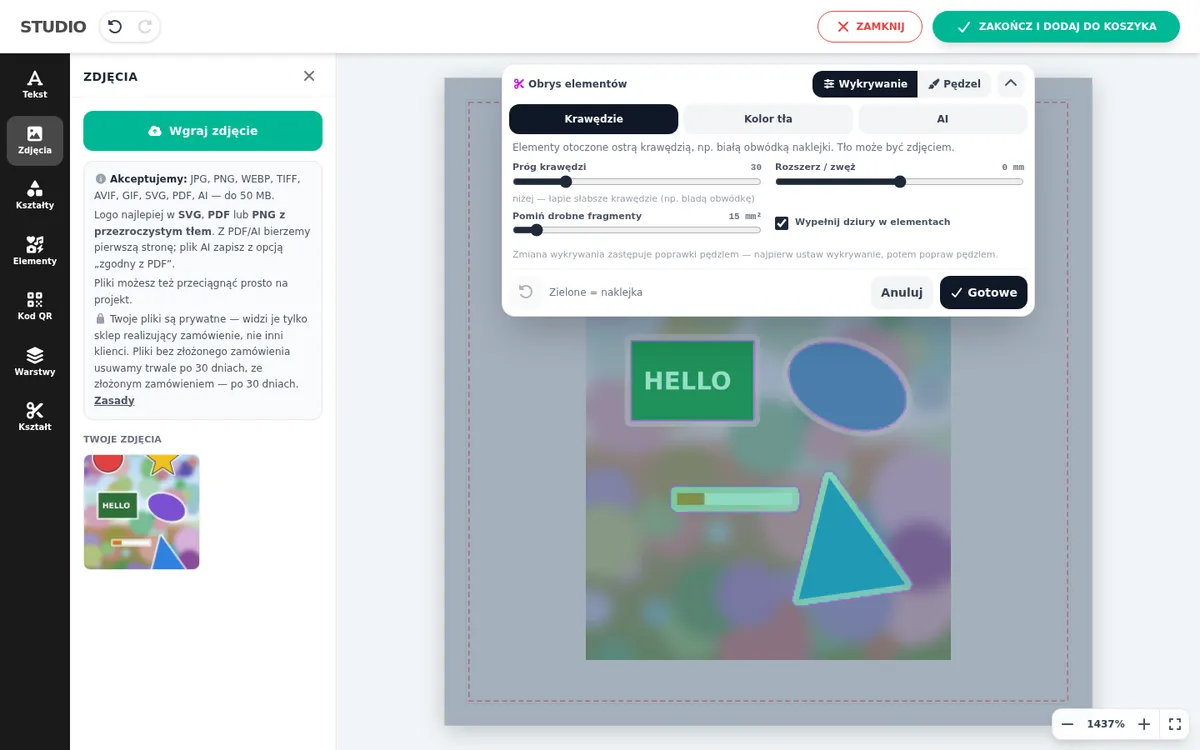
The kreatorproduktow.pl designer smooths the line, adds the offset and shows places narrower than 1 mm. “Element outline” cuts stickers out of one photo, e.g. several characters, each with its own line.
Frequently asked questions
What is a kiss cut?
Cutting only the vinyl with the sticker, without cutting the liner. The sticker stays on the sheet and is peeled off like from a pad.
Can a contour-cut sticker have holes inside?
Yes, the plotter also cuts inner shapes, e.g. the inside of the letter O. Just be careful with very small elements.
How do I prepare a contour-cut sticker file?
Artwork with a transparent background and a cut line in the CutContour colour a few millimetres away. Details in the CutContour article.
See also
Try the designer on your own products
30 days free, no card and no automatic payments. Standard costs 58 EUR net per month, Premium 80 EUR. One shop and one order system are included.